Are you wondering how to achieve a professional finish with interior painting? Whether you’re a DIY enthusiast or just starting out, getting that smooth, flawless look can be a challenge. I once struggled with paint streaks and uneven walls, just like many beginners. But don’t worry, this guide will show you the secrets to transforming your space with a professional finish. Ready to upgrade your painting skills? Let’s dive in and solve your biggest interior painting challenges.
Expert Tips for a Flawless Interior Painting Finish
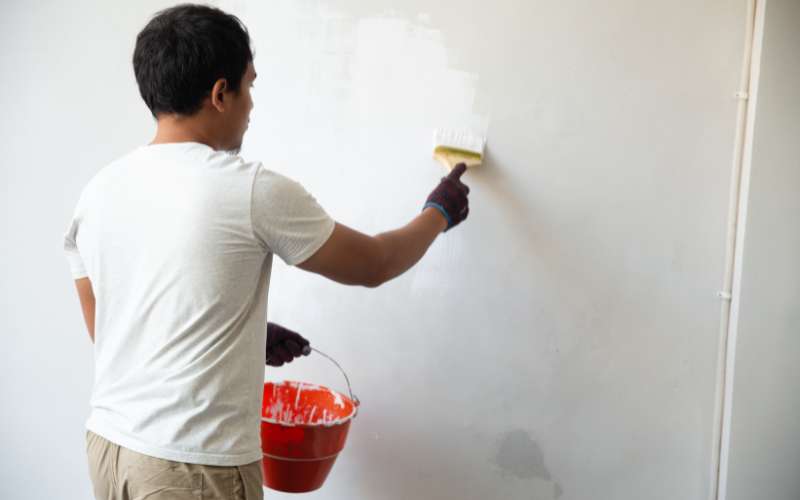
Achieving a professional finish when painting interior spaces takes more than just picking up a brush. It requires careful preparation, the right tools, and the right techniques. Let’s break down the essential steps to help you get that flawless finish, whether it’s your first time or you’re looking to refine your skills.
I. Proper Surface Preparation is Key
One of the biggest mistakes people make is skipping or rushing the preparation stage. A professional finish begins with a clean and smooth surface. Make sure you fill any holes or cracks with filler, sand down rough areas, and wipe the walls clean of dust. This simple step ensures your paint goes on evenly and sticks to the surface better. Remember, paint can’t hide imperfections, but good prep work can!
II. Choosing the Right Paint
The type of paint you choose plays a crucial role in how the final result will look. For high-traffic areas like living rooms or hallways, choose a durable paint with a satin or semi-gloss finish. If you’re painting a bedroom or dining room, a matte finish offers a softer, more elegant look. Always select high-quality paint that offers good coverage. Cheap paint can result in streaks, requiring more coats and effort to achieve the desired finish.
III. Invest in Quality Tools
It might be tempting to save money on brushes and rollers, but investing in high-quality tools makes all the difference. High-end brushes provide smoother strokes, and quality rollers hold more paint, reducing the number of trips back to the paint tray. A brush designed for cutting in around edges and corners will give you sharper lines, while a roller with a good nap is essential for achieving even coverage on walls.
IV. Use Proper Painting Techniques
Many DIY painters struggle with uneven strokes and inconsistent layers of paint. The key to a professional finish is applying thin, even coats. Start by cutting in around the edges and corners with a brush, then move to the roller for the larger areas. Always roll in a “W” or “M” shape to avoid lap marks, which occur when the paint dries unevenly. Allow each coat to dry fully before applying the next one for the smoothest finish.
V. Don’t Forget the Primer
Using a primer is especially important when you’re painting over a dark color or working with a surface that hasn’t been painted before. Primer helps the paint adhere better and ensures the color you apply looks as true as possible. It also helps cover stains and imperfections, creating a uniform base for your topcoat.
VI. Attention to Detail with Trim and Corners
Achieving a professional finish doesn’t stop at the walls. The trim and corners are where your painting skills truly stand out. Use painter’s tape to get clean, sharp lines on baseboards and moldings. When painting trim, use a smaller brush for better control, and remember to apply at least two coats for a consistent look.
VII. Inspect Your Work and Fix Imperfections
Once the paint is dry, inspect your work under different lighting conditions. Touch up any areas where the paint appears uneven or where streaks may have formed. Taking the time to go over these small imperfections will elevate the overall look of your project, making it feel professional and polished.
VIII. Final Clean-Up and Maintenance Tips
After achieving that perfect finish, it’s important to maintain your freshly painted interior. Dust walls and trim regularly, and spot clean any marks with a gentle cloth. Keep some leftover paint for quick touch-ups if scuffs or damage occur over time. Proper care will extend the life of your work and keep it looking fresh for years.
Ready to Achieve a Professional Interior Paint Finish?
Now that you’ve learned the steps to achieve a professional finish with interior painting, it’s time to put your skills to the test. With proper preparation, the right tools, and attention to detail, you can transform your space with ease. Don’t let streaks or uneven finishes hold you back—reach out to us for expert advice or a consultation. Contact us today to start your next interior painting project and get the professional results you deserve!