Are you looking for drywall installation tips for a perfect finish? Many homeowners struggle to get their drywall looking smooth and flawless. But don’t worry—you’re not alone! Whether you’re a DIY enthusiast or a seasoned contractor, achieving a perfect drywall finish can be challenging. This post will share practical tips and techniques to help you achieve professional-looking results.
Key Steps for a Flawless Drywall Installation
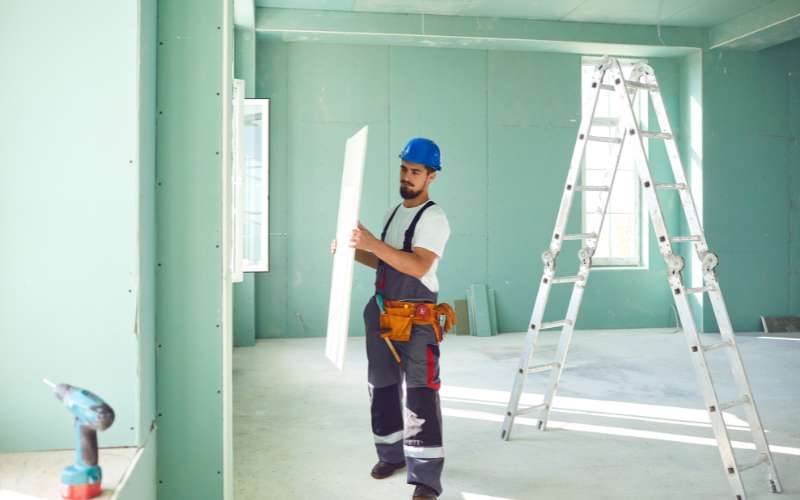
Installing drywall may seem straightforward, but achieving a smooth and professional finish requires attention to detail. Here are some drywall installation tips for a perfect finish that will help you avoid common mistakes and ensure a quality result.
1) Choose the Right Drywall Materials
Choosing the right drywall materials is the first step toward a flawless finish. Not all drywall is created equal; there are different thicknesses, types, and qualities. For standard walls, 1/2-inch drywall is a popular choice. However, for ceilings, 5/8-inch thickness provides extra durability. For moisture-prone areas like bathrooms, use moisture-resistant or mold-resistant drywall. Make sure to select the correct type for each room to prevent future issues.
2) Properly Measure and Cut the Drywall
Accuracy in measurement is crucial when installing drywall. Start by measuring the wall dimensions carefully. Mark your drywall sheets with a pencil, and use a T-square to ensure straight lines. When cutting, score the drywall with a utility knife and snap it along the line. Smooth the edges with a rasp to avoid rough cuts that could cause gaps or uneven seams. Proper cutting reduces waste and ensures a better fit.
3) Secure the Drywall Correctly
How you secure the drywall to the wall studs matters. Use screws rather than nails to prevent popping. Place screws about 12 inches apart for a secure hold. Avoid over-screwing, as this can tear the drywall paper and reduce its strength. Screws should be slightly recessed without breaking the surface. If you’re installing a ceiling, spacing the screws every 8 inches is recommended for added support.
4) Taping and Mudding for a Smooth Finish
Taping and mudding are essential steps for a seamless drywall finish. Start by applying joint tape over the seams. Use a thin coat of joint compound (mud) to cover the tape, pressing firmly to avoid air bubbles. Let it dry completely before applying the next coat. Repeat this process two to three times, feathering out the edges with each layer for a smooth transition. Sand lightly between coats to remove any ridges.
5) Sanding: The Key to a Flawless Surface
Sanding is where your drywall installation can go from good to great. Use a sanding pole with a fine-grit sandpaper (120-150 grit) to smooth out dried compound. Be gentle to avoid damaging the drywall or sanding through the paper. Sand in a circular motion and frequently check your progress by running your hand over the surface. Don’t rush this step; a well-sanded wall will make all the difference in the final look.
6) Applying a Primer Before Painting
Before you paint your drywall, applying a primer is essential for an even color and texture. Primer seals the drywall and the joint compound, creating a uniform surface that enhances the paint’s adhesion. Choose a primer specifically designed for drywall. This step will also reveal any imperfections that might need a final touch-up sanding.
7) Tips for Painting Drywall
Once your drywall is primed, you’re ready to paint. Start by cutting in along the edges with a brush, then use a roller to cover the larger areas. Apply two coats for a consistent color. If you notice any imperfections after the first coat, lightly sand them down and touch up before the final coat. This process ensures a professional finish that will last.
8) Common Drywall Installation Mistakes to Avoid
Avoid common mistakes like failing to secure the drywall properly, using the wrong type of drywall, or skipping steps like taping, mudding, and priming. Rushing through these steps or neglecting them altogether will result in a subpar finish. Take your time and follow these drywall installation tips for a perfect finish to avoid costly repairs and rework.
By following these drywall installation tips for a perfect finish, you can achieve a smooth, professional-looking wall or ceiling. Whether you’re renovating a single room or an entire house, these tips will guide you through each step of the process, from selecting the right materials to applying the final coat of paint.
Ready to Achieve a Perfect Drywall Finish? Contact Us Today!
Achieving a perfect drywall finish requires the right techniques and attention to detail. If you need professional help with your drywall project or want more expert advice, contact us today. Let our experienced team guide you to a flawless finish that you’ll be proud of. Don’t wait—get in touch now!